
With the increasing popularity of plant-based milk alternatives, many coffee drinkers are now looking for ways to use oat milk in their latte art.
But how does oat milk compare to traditional dairy milk when it comes to creating latte art designs?
In this blog post, we’ll explore the best techniques for using oat milk to create beautiful latte art designs.
Table of Contents
Difference Between Oat Milk and Dairy Milk For Latte Art?
Coffee drinkers are now opting for plant-based alternatives, such as oat milk, so what exactly is the difference between oat milk and dairy milk for latte art?
Density and Fat Content
Dairy milk contains a high amount of fat, which creates a thick and creamy texture when steamed, which makes it easier to create stable foam, and is essential for creating latte art designs.
Oat milk, on the other hand, is naturally lower in fat and has a sweeter, thinner texture.
While this texture can make it more challenging to create stable foam, with the right techniques and good quality oat milk, it’s still possible to create beautiful latte art designs.
Steaming and Foaming
Another difference between oat milk and dairy milk for latte art is how they behave when steamed and foamed.
Dairy milk has a natural tendency to form stable foam that can hold its shape, making it easier to create latte art designs.
Oat milk, however, has a tendency to separate when steamed and may not form as stable a foam as dairy milk.
To combat this, it’s important to use high-quality oat milk that is specifically formulated for use in coffee and to take your time when steaming the milk, using a gentle and consistent motion.
Flavour Profile
Finally, the flavour profile of oat milk and dairy milk is another key difference.
Dairy milk has a naturally rich and creamy flavour, while oat milk has a sweeter and more neutral taste.
This difference in flavour can impact the overall taste of the final coffee brew, so it’s important to choose the right milk based on personal preference and the desired taste of the latte.
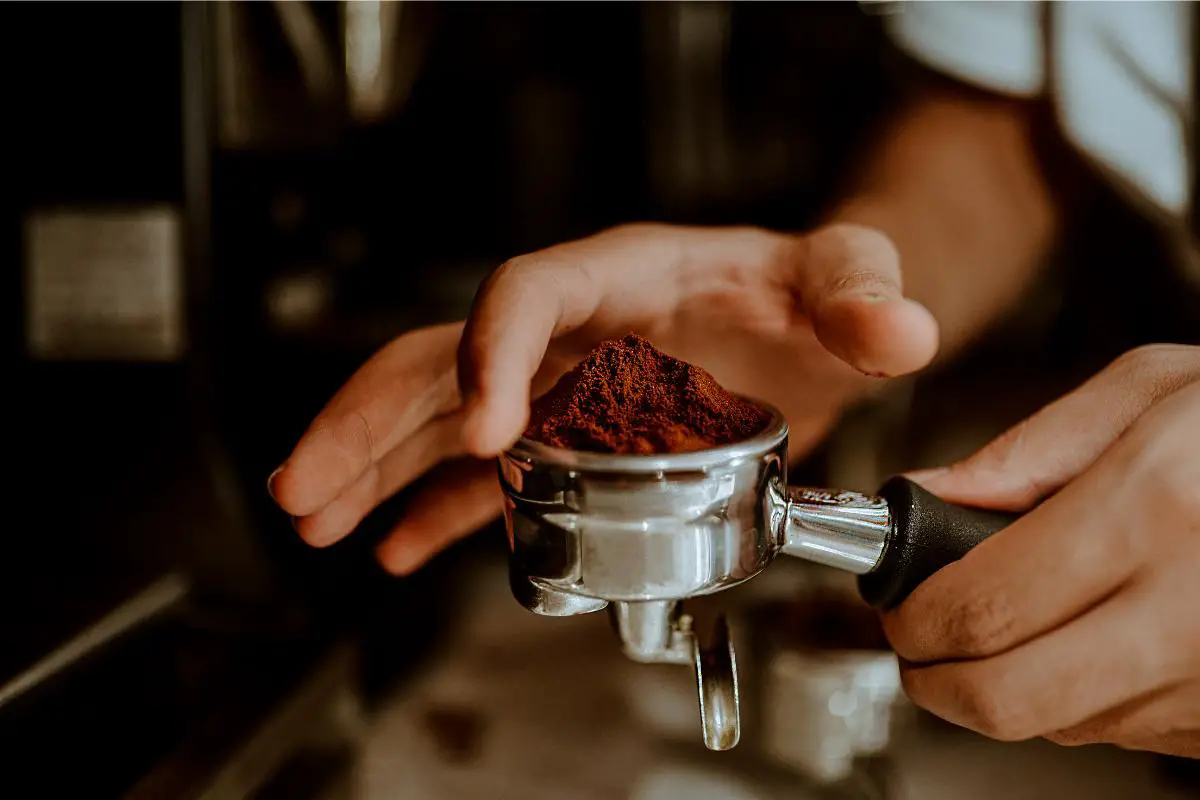
How To Choose the Right Oat Milk for Latte Art?
When it comes to using oat milk for latte art, the quality and type of oat milk you choose are just as important as the techniques you use.
Look for oat milk that is specifically formulated for use in coffee, with a creamy texture and neutral flavour.
This will help ensure that you get the best results when creating latte art designs with oat milk.
Top pick


Editor’s choice


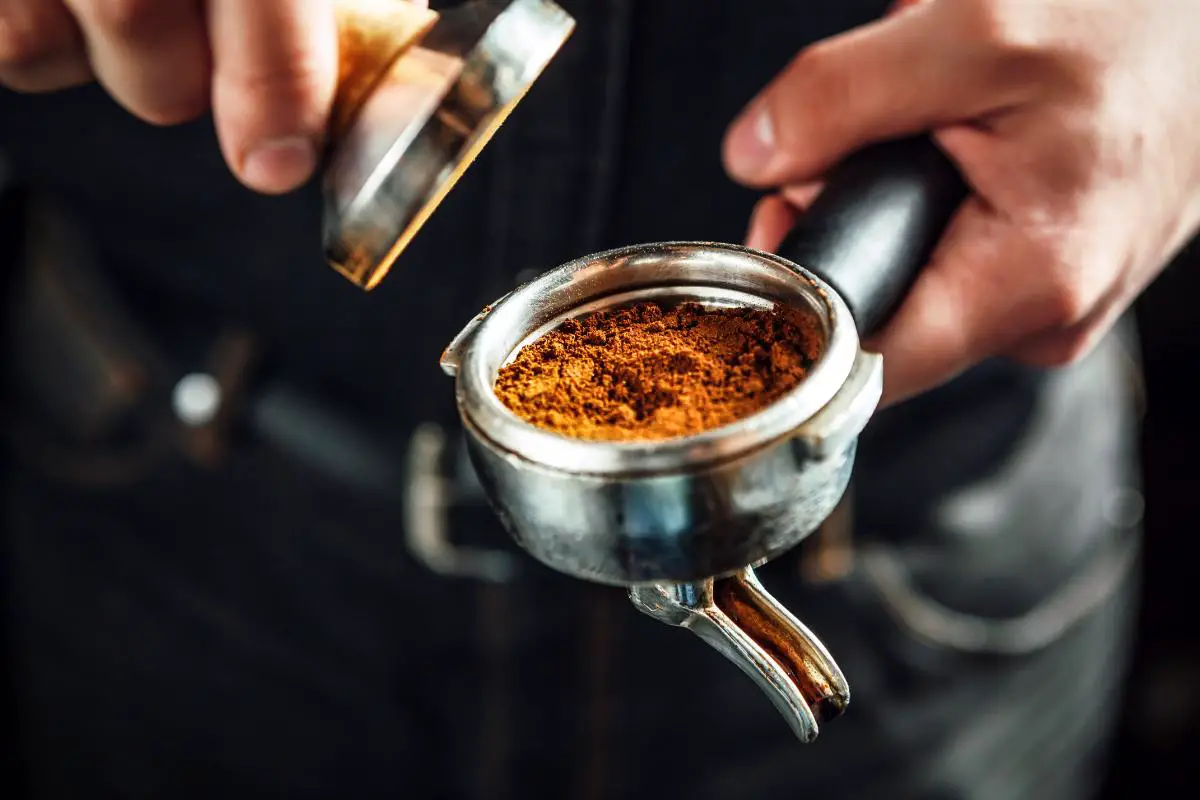
How To Steam Oat Milk for Latte Art?
Steaming oat milk for latte art is a delicate process that requires a gentle and consistent motion.
Over-stretching the milk can cause the foam to become too thin, making it difficult to create stable latte art designs.
When steaming oat milk, be sure to use a gentle and consistent motion, avoiding any sudden or sharp movements that could disrupt the foam.
Here’s a step-by-step guide:
- Choose high-quality oat milk that is specifically formulated for use in coffee.
- Fill the milk pitcher with oat milk to about a third of the way.
- Place the tip of the steam wand just below the surface of the milk and turn on the steam.
- Move the pitcher in a gentle and consistent circular motion to create a vortex.
- As the milk begins to heat up, increase the speed of the circular motion and lower the pitcher to create a more stable foam.
- Continue steaming until the milk reaches the desired temperature, typically around 140-150°F.
- Turn off the steam and gently tap the bottom of the pitcher on the counter to remove any large bubbles.
- Place the tip of the steam wand just below the surface of the milk and give the milk a quick burst of steam to create a final layer of foam.
- Pour the milk into the espresso, starting from the centre and working your way outwards in a circular motion.
- As you pour the milk, use the tip of the steam wand to control the flow and shape of the milk.
What Pouring Technique To Use for Latte Art with Oat Milk?
The pouring technique is one of the most critical aspects of creating latte art with oat milk.
A slow and steady pour is the best way to create the desired latte art design, allowing you to control the flow of the milk and create the perfect foam.
When pouring the milk into the espresso, take your time and be patient, as this is where the magic of latte art happens.
Tips for Creating Latte Art with Oat Milk
- Use a Good Quality Oat Milk: Make sure to use high-quality oat milk that is formulated specifically for use in coffee. Look for oat milk with a creamy texture and neutral flavour.
- Steaming Method: When steaming oat milk, it’s important to use a gentle and consistent motion to create the foam. Avoid over-stretching the milk, as this can cause the foam to become too thin.
- Pour Technique: When pouring the milk into the espresso, use a slow and steady pour to create the desired latte art design.
- Practice Makes Perfect: As with any new skill, it takes practice to perfect your latte art with oat milk. Don’t be discouraged if your designs aren’t perfect right away – keep trying and experimenting with different techniques.
FAQs

A: No, not all oat milk is created equal. Some oat milk has a higher fat content, which can make them more suitable for latte art.
A: A slow and steady pour is the best technique for creating latte art with oat milk.
A: Yes, it’s possible to create intricate latte art designs with oat milk, although it may take more practice and patience.
A: No, the oat milk foam is not as stable as dairy milk foam. This is due to the lower fat content and sweeter, thinner texture of oat milk.
Conclusion
While oat milk has a sweeter and thinner texture than dairy milk, with the right techniques and good quality oat milk, it’s still possible to create beautiful latte art designs.
Whether you’re a professional barista or a home coffee enthusiast, this guide is a great starting point for anyone looking to incorporate oat milk into their latte art.
If you enjoyed this article, read more like this by checking out our Specialty Coffee Beginners Guides.