

Ask any barista out there what makes their coffee better than the rest and they will tell you it is by having a good shot and perfectly steamed milk.
The process of steaming and frothing milk for specialty coffee and many other milk based beverages is achieved in two key stages.
These two stages are known as aerating (also known as stretching), which is introducing air to the milk, and emulising (also known as texturing).
At the beginning, the idea of steaming your milk seemed simple enough, however, during the early stages we quickly found that to steam milk correctly, it requires a gentle touch and a certain type of technique.
This got us thinking, so we decided to do a little research.
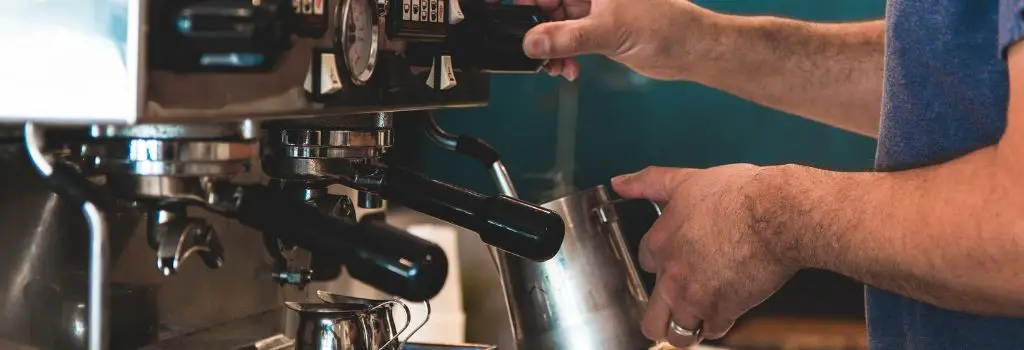
Table of Contents
What Is Steam Milk?
Steam milk is basically the end result of your milk after being exposed to high pressure steam which is produced with your coffee machine.
It is made when you gradually introduce steam into your milk via the steam wand on your coffee machine, until the natural fats within your milk start to expand resulting in a foam like layer.
When done correctly, the final result will be a smooth, silky beverage which will be perfect to add to espresso based drinks such as the flat white, or more commonly cappuccino.
What Do You Need To Steam Milk?

Before you go ahead and put your steaming skills to the test you need to ensure you have the correct equipment.
This includes the following;
Coffee Grinder –
The quality of your coffee that you use owes a great deal to the consistency of it’s grounds. We have been using the Portable Stainless Steel Manual Burr Coffee Bean Grinder, which is perfect for at home use and has provided us with precise grinding every time, however, there are many options out there.
Coffee Tamper –
The tool that will be used to compress your coffee grounds into the puck, you can find these at a good price over on Amazon.
Espresso Machine –
There are three main parts on an espresso machine, a steam wand being one of these (portafilter and group head being the other two).
The steam wand is a small metal pipe usually located on one side of the espresso machine.
The wand is internally connected to the espresso machine’s boiler and, when the valve is turned, it is able to produce a regular flow of steam. The wand is used to steam and froth your milk for things like latte art and cappuccinos.
Milk Frothing Jug –
Also known as a milk pitcher, these thin stainless steel jugs which will be the vessel for the milk, also allow you to easily feel the heat of the milk when it is steaming.
We currently have the Dailyart 600ml Stainless Steel Milk Pitcher which you can find over on Amazon for a good price.
Coffee Cup –
Depending on what kind of beverage you are making, or personal preferences, we generally recommend using a 7-8 oz cup for Latte or Cappuccino.
How Do You Steam Milk For Specialty Coffee?

So now you have all the necessary equipment the next thing you will need to know is how to actually steam milk for specialty coffee.
This can be achieved with following steps;
1. Purge Steam Wand –
Wrap a wet cloth around the end of your steam wand and open the valve for approximately 4-5 seconds, this will remove any condensed water stuck in the tip which can affect the quality of your milk.
2. Fill your Milk Frothing Jug With Milk –
This step is actually more important than many realize as it is vital to ensure you have the right amount poured in. Fill the milk about halfway up the jug, just below the jug spout.
3. Milk Stretching –
This is the stage where you will be introducing steamed air into your milk. You will need to have the nozzle of the steam wand below the surface of the milk which will create a hissing sound, you may have heard this in your local coffee shop before.
Note: This can be the most difficult stage when first starting out, it is important to have the nozzle just under the surface of the milk in order to create foam.
We find that the milk stretching stage lasts about 5 seconds as you only need to introduce a little bit of air into the milk. Once you create enough foam for your coffee you can move onto the next stage.
4. Spinning The Milk –
While slightly tilting your jug, this is where you can submerge your steam wand nozzle a fraction more into the milk and spin the milk in a whirlpool motion, the hissing sound will then disappear.
This spinning process will mix the micro foam with the milk together giving it that smoother, richer and thicker end result.
Keep spinning the milk until the jug becomes slightly too hot to touch (or about 60 degrees), then turn off the steam and wipe your steam wand with a wet, clean cloth.
5. Thump and Rest –
Once you have finished, you can give the jug a single thump on the bench to disperse any bigger bubbles that may have been left over, and then let it sit while you make your espresso shot.
6. Pour –
Before pouring into your espresso based beverage, swirl the milk around the jug to polish the milk and make sure that the milk and micro foam are smoothly together, you will need to be gentle so you do not make new bubbles or ruin the smooth consistency.
Note: For best results you will want to pour the milk into the coffee at a steady pace. The key is to pour the milk along side your cup by resting the spout of the jug on the top of your cup.
7. Enjoy!! 😉
How To Steam Milk Without An Espresso Machine?
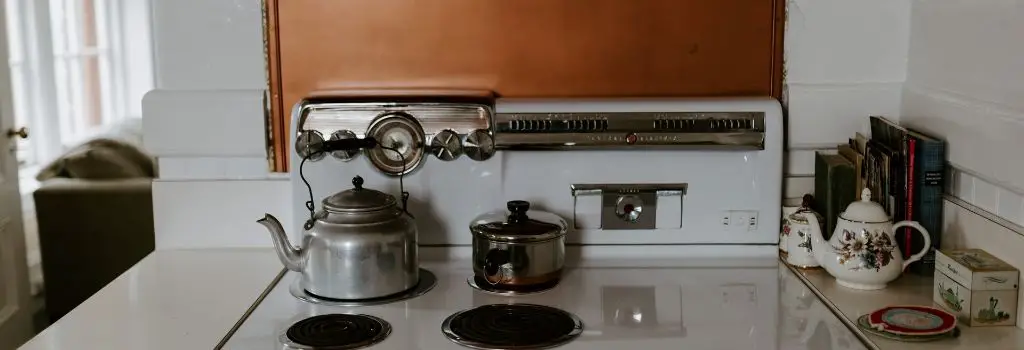
During our journey with milk steaming, it was important to note that not everyone has an espresso machine in their homes, and sometimes even if you have an espresso machine, not all have steaming wands.
So what can you do if this is you? We have included a few quick and relatively cheap alternatives below.
Microwave – Measure your milk into something like a glass jar and screw the lid on. Thoroughly shake the milk inside the jar until foam starts to form. Once foamy enough, take the lid off and place into the microwave to heat. Spoon out and add to your coffee.
French Press – Measure out heated milk into your french press ensuring you fill the milk to about the halfway point. With the french press lid start plunging continuously through the milk, this pump action will start to form foam. Spoon out and add to your coffee.
Milk Frother – These days you can actually buy a separate milk frother. These can be dedicated milk frothers with their own heating system and frothing discs, commonly seen with nespresso pod machines.
Saucepan and Whisk – Measure milk into a saucepan and heat over a stove top. Once the milk has been heated started to beat the milk with your whisk to start forming foam, basically just as if you were beating eggs. Spoon out and add to your coffee.
The table below includes the mentioned alternatives which you can find over on Amazon, and although these may not be for best results, these are still options you can use to successfully froth milk.
|
METHOD |
WHAT WE HAVE |
| Microwave | Digital Microwave Oven |
| French Press | Bodum French Press |
| Milk Frother | Miroco Stainless Steel Milk Steamer |
| Saucepan | Supreme Vision SaucePan |
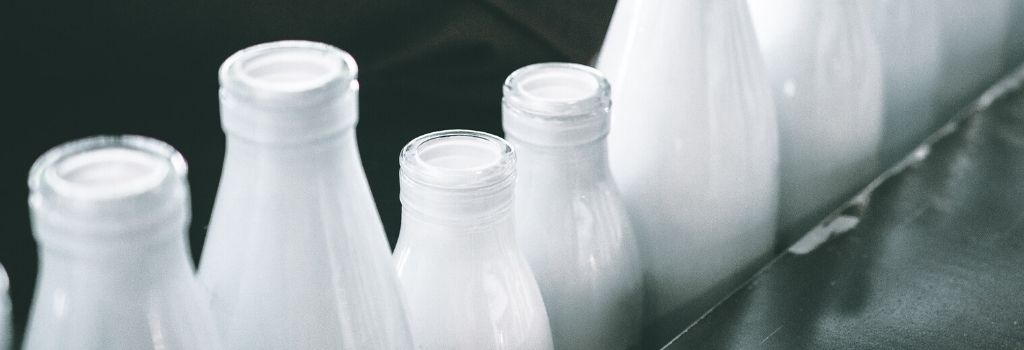
What Is The Best Milk To Use When Steaming?
Whether you will be using dairy milk or an alternative plant based milk, the type of milk you use can have a great impact to the taste and texture of your final drink.
For best results, when choosing a milk to steam, you will be wanting to find a milk that has a perfect balance between fat and protein, as both of these molecules surround the tiny bubbles created when steaming, resulting in a perfect foam.
So what are the best types of milk to use when steaming? We found that a non-fat milk, 2% milk, whole milk, organic milk and lactose free milk will provide excellent results, especially for your latte.
For beginners, we would recommend starting with non-fat or skim milk, as it provides the largest foam bubbles and is the easiest to froth since there is no fat in the milk, the result is light and airy but the flavour is not as rich as other types of milk.
If you are after a dairy free alternative, then soy milk, almond milk, rice milk, and oat milk can also be heated. Milk such as soy will froth, but will lose the bubbles quickly as the protein structures of these types of milk cannot fully support the milk bubbles.
For those who would prefer a dairy free alternative, our favourite is Oatly Barista Edition which is an Oat Milk brand you can find online and in most local supermarkets, but do not stress as most oat milk brands will come up with the same results.
It steams almost exactly like real milk and produces fantastic foam. Just like soy milk the foam doesn’t hang around quite as long as whole milk might, due to the lighter protein content relative to fat.
However, Oat milk is a smooth, sweet, creamy dairy alternative and won’t hinder you in a latte art throwdown.
What Is The Difference Between Steamed and Frothed Milk?
When preparing milk for any speciality coffee, be that a latte, cappuccino or flat white, it should always be aerated.
A common question to newcomers in the Specialty Coffee world is what the difference is between steam milked and frothed milk?
Well in fact, steamed, frothed and foamed milk all refer to the same thing, and ultimately it is the process of properly prepared milk.
A common belief is that steamed milk and frothed milk should be used for different types of beverages, however, this is not really the case.
But it is important to note that steamed milk is generally less dense than frothed milk, therefore, the process of steamed milk is generally the preferred method for such beverages as the latte, where as the process of frothed milk is generally the preferred method for such beverages that generally have more aerated milk (foam) such as the cappuccino.
Why Do We Steam Milk For Coffee?
Without steamed or foamed milk we wouldn’t get that smooth mouthfeel and the rich body we enjoy when drinking milk based coffees.
Steaming and frothing milk provides a huge improvement to the consistency and taste of your milk.
It also enhances the texture of the coffee in your mouth and makes the presentation of your milk-based espresso drinks far greater.
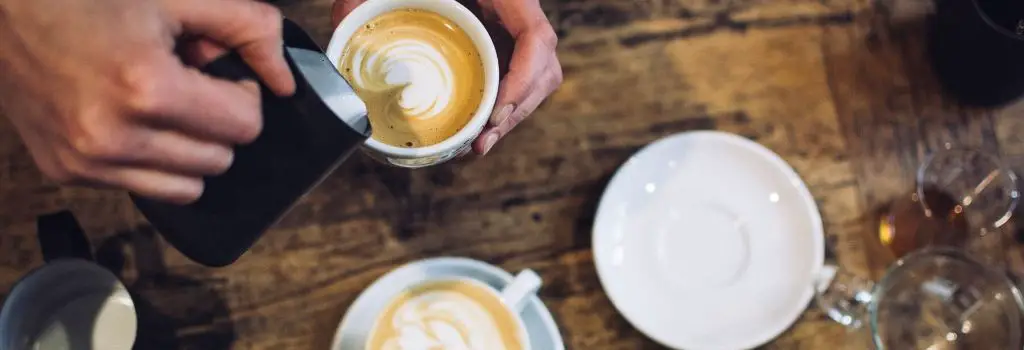
How Do You Make Latte Art?

A little extra skill you will pick up when learning how to steam milk is what the coffee industry refers to as latte art.
When visiting most coffee shops, you would have likely seen many different kinds of patterns and shapes on the finished coffee beverage.
Latte art is a great way to add a memorable touch to the presentation of your finished coffee. While being a relatively simple task, effective latte art can help put you one step ahead of the competition.
One of the most common patterns and generally the best pattern to start with as a beginner is the heart pattern.
So how can you add this to your coffee?
To start, gently pour your newly steamed jug of milk into the centre of the espresso. Try to ensure your cup is at an angle facing toward the jug, at about a 45 degree angle.
When the cup is around 1/3 full, bring your jug closer to the espresso, so that it is touching the side of your cup.
You should begin to see a circle of white foam forming in the espresso.
Slowly straighten the cup as it continues to fill, following the motion all the way with your jug.
Raise the jug and cut through the circle to create a heart, and there you have it. Your first latte art design.
You may also see people using Latte Art Pens when creating more technical designs which you can pick up over on Amazon.
Can You Steam Milk More Than Once?
Just like food, when adding heat, it will have an impact and make irreversible changes. Any heating affects the chemical structure of milk proteins.
But how much it impacts the milk depends on the temperature and the duration of heating.
Therefore, you should not steam your milk more than once, so ensure you are not setting yourself up for wastage.
If you re-steam your milk, you will therefore be re-heating your milk, further affecting the chemical structure of milk and breaking down the milk proteins.
This will have a negative effect on the sweetness and consistency of your milk.

Conclusion
By now you should be on your way to steaming milk for specialty coffee like a pro. By following our researched guide and ensuring you have the correct equipment you will be producing barista like coffees in no time.
Understanding and experimenting with different milks can help create better espresso based drinks, it will just take a little bit of practice.
However, even if you are already a pro, we hope you have found some value in this article, as well as inspiring you to try different milks and dairy free alternatives to change up your game and make you a better overall barista.
Why not put your new knowledge to the test?
Looking to try another espresso based beverage? Check out our recent article, what is a ristretto coffee and how to make one?


Leave a Reply