Etching is a more advanced technique that can take your latte art to new heights so many are on the hunt for how to etch latte art.
By using simple tools and techniques, you can turn your morning cup of coffee into a work of art.
In this article, we’ll explore everything you need to know about how to etch latte art, from what etching is to what kind of milk works best for creating beautiful designs.
Table of Contents
What is Etching?
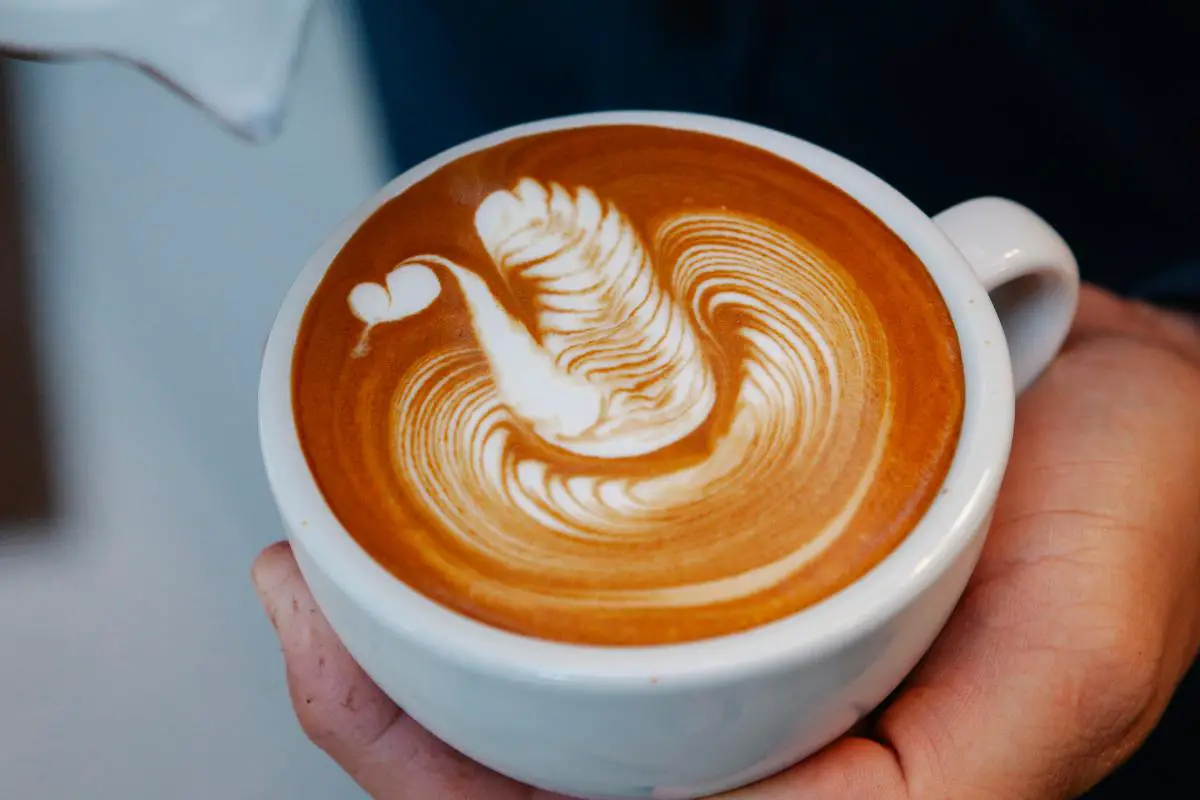
Etching is a technique that involves using a tool to manipulate the surface of the milk foam in a latte or cappuccino.
This can be done by dragging the tool through the foam or using it to add dots or lines. Etching can create various designs, such as hearts, flowers, and even portraits.
How to Etch Latte Art?
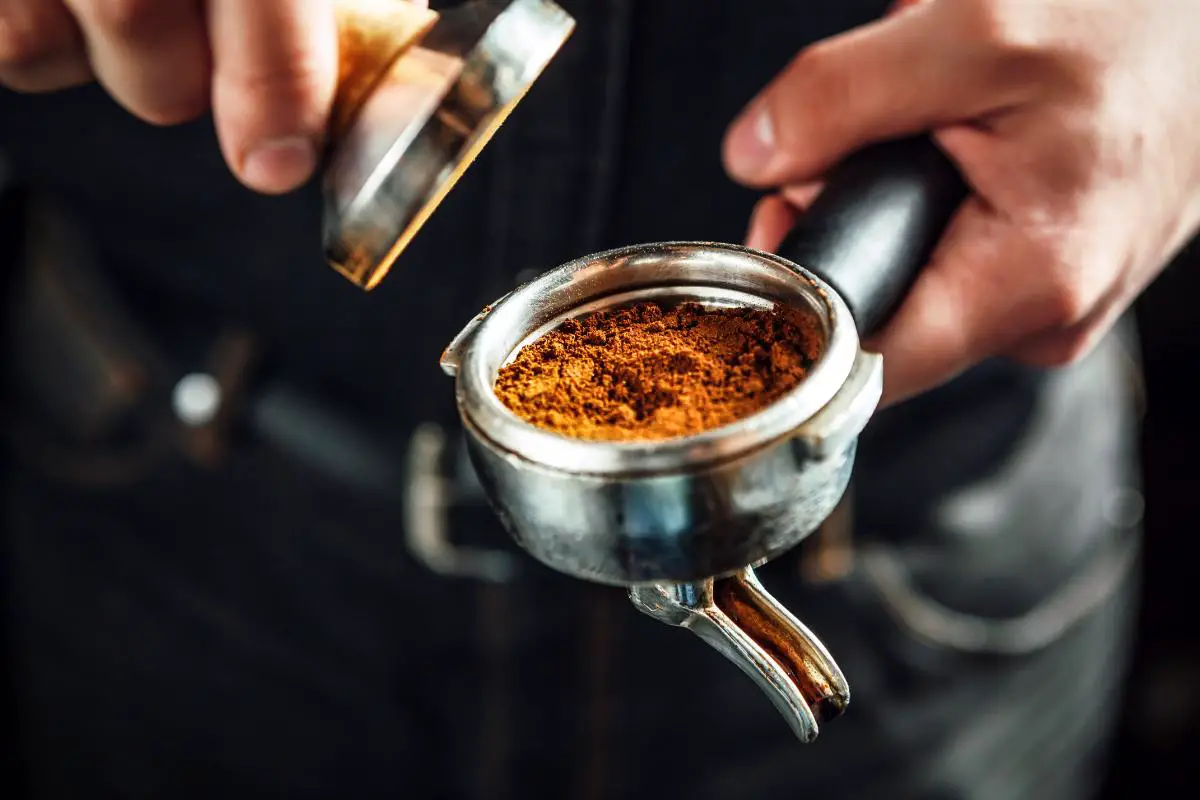
To etch latte art, you’ll need a few things:
- A latte or cappuccino with a layer of milk foam
- A tool for etching, such as a toothpick or latte art pen
- A steady hand and a bit of patience
Here’s a step-by-step guide to etching latte art:
Step 1
Start with freshly brewed espresso and steamed milk.
Step 2
Pour the steamed milk into your espresso shot. Hold the pitcher high above the cup and pour the milk in a steady stream to create a layer of foam on top of the espresso.
Step 3
Use a spoon to gently hold back the foam as you pour the milk into the cup. This will help create a defined layer of foam for etching.
Step 4
Prepare your etching tool. You can use a latte art pen, toothpick, or other tools to create designs in the foam.
Step 5
Hold the cup in your non-dominant hand and steady it with your other hand.
Step 6
Use your etching tool to create designs in the foam. Start with simple designs like hearts or circles and work up to more intricate designs.
Step 7
Work quickly! The foam will begin to settle after a few seconds, so you need to work fast to create your designs.
Step 8
Experiment with different techniques and tools. You can use a toothpick to create fine lines or a latte art pen for more precise designs.
Step 9
Practice, practice, practice! Etching latte art takes time and practice to master. Keep practising and experimenting with different techniques to find what works best for you.

Tips to help you improve latte art etching
- Start with a well-made latte or cappuccino. The milk should be steamed and frothed to create a thick layer of foam on top.
- Choose your etching tool. A toothpick is a good option for beginners, while more advanced baristas may prefer a latte art pen.
- Begin etching! Use your tool to manipulate the milk foam, creating lines, dots, and other shapes. Remember to work quickly, as the foam will begin to settle after a few seconds.
- Experiment with different designs and techniques. Try dragging your tool through the foam to create lines, or dotting the foam to create a speckled effect.
- Practice, practice, practice! Etching takes time and patience, so keep at it until you get the hang of it.
What Kind of Tools Do I Need for Etching Art?
The tools you need for etching latte art are relatively simple.
Here are a few options:
- Toothpicks: These are a good option for beginners, as they are easy to find and inexpensive.
- Latte art pens: These are specially designed pens that can be filled with food colouring or cocoa powder, and they allow for more precise etching than a toothpick.
- Decorating combs: These are small, comb-like tools that can be used to create textured patterns in the milk foam.
What Kind of Milk is Best for Etching Latte Art?
When it comes to etching latte art, the type of milk you use can make a big difference.
Here are a few options:
- Whole milk: This is the most commonly used milk for latte art, as it creates a thick layer of foam that is easy to manipulate.
- Skim milk: Skim milk can also be used, but it creates a thinner layer of foam that may be more difficult to work with, however, it can still produce good results with practice.
- Alternative milk: Non-dairy milk options such as soy, almond, and oat milk can also be used for etching latte art, however, they may require more skill and practice to create a stable foam for etching.
Can You Etch Latte Art Without Milk?
Etching latte art typically involves creating designs and patterns in the foam on top of steamed milk, so without the milk, there would be no foam to etch.
However, there are alternative options for creating latte art without using milk.
For example, some baristas create designs in the crema layer of an espresso shot.
This requires a steady hand and some practice but can create beautiful and unique designs in your coffee.
Another option is to use alternative milk options such as soy, almond, or oat milk to create foam for etching.
However, it’s important to note that these options may require more skill and practice to create a stable foam for etching.
In short, while it may be possible to create latte art without milk, it is not the traditional method of etching latte art.
It’s always worth experimenting with different techniques and options to find what works best for you and your coffee preferences.
How To Etch Latte Art FAQs

A. While whole milk is the most commonly used option, other types of milk can also be used for etching latte art, however, they may require more skill and practice to create a stable foam for etching.
A. No, you don’t necessarily need a latte art pen to etch latte art. A toothpick or other tool can also be used to create designs and patterns in the milk foam.
A. The foam will begin to settle after a few seconds, so it’s important to work quickly when etching latte art.
A. With etching, you can create a variety of designs, including hearts, flowers, animals, and more intricate patterns.
Conclusion
Etching latte art can take your coffee game to new heights and impress your friends and family.
With the right tools and a bit of practice, you can create intricate designs and patterns in the milk foam, as well as experiment with different techniques and milk options to find what works best for you.
So whether you’re a beginner or an experienced barista, etching latte art is a fun and rewarding way to elevate your latte game.
If you enjoyed this article, read more like this by checking out our Specialty Coffee Beginners Guides.